
Pool Light Wet Niche Installation: Cord Seal, Junction Box Elevation and Bonding
Plan pool light wet niche bonding, cord sealing and above-water junction box placement. Check the selected lighting instructions and prepare your drawing handoff.
Updated
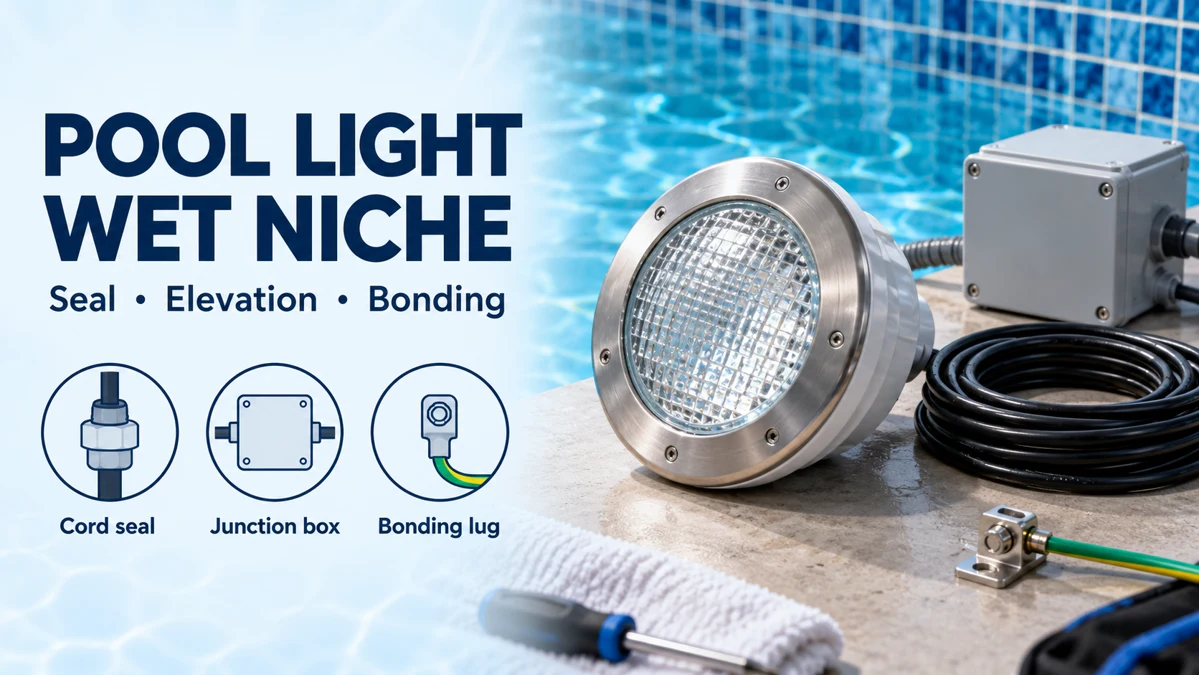
Start the pool light wet niche bonding review at the niche terminals, then work through the cord seal, junction-box position and transformer circuit. PoolProject Supply furnishes stainless steel and ABS wet-niche LED pool lights, niche housings, cord-seal grommet kits, deck junction boxes and low-voltage safety transformers matched as a complete electrical sub-package. Use the checks below when marking up the lighting portion of your pool equipment package.
Start with the bonding lug and conduit detail
When specifying or inspecting a large plastic wet-niche housing (such as Pentair Large Plastic Niche reference installations), verify the following bonding and grounding details:
Connect the bonding wire from rebar and bonding grid to the bonding lug at the rear of the niche.
If using non-metallic conduit (PVC), a No.8 AWG bonding/grounding wire must be installed through the conduit from the junction box to the bonding/grounding lug inside the niche.
The connection inside the niche must be sealed with a listed sealant.
Match the underwater luminaire fixture to the listed wet-niche housing in your lighting package so the fixture bezel, internal grounding lug and rear bonding lug maintain full mechanical and electrical continuity.
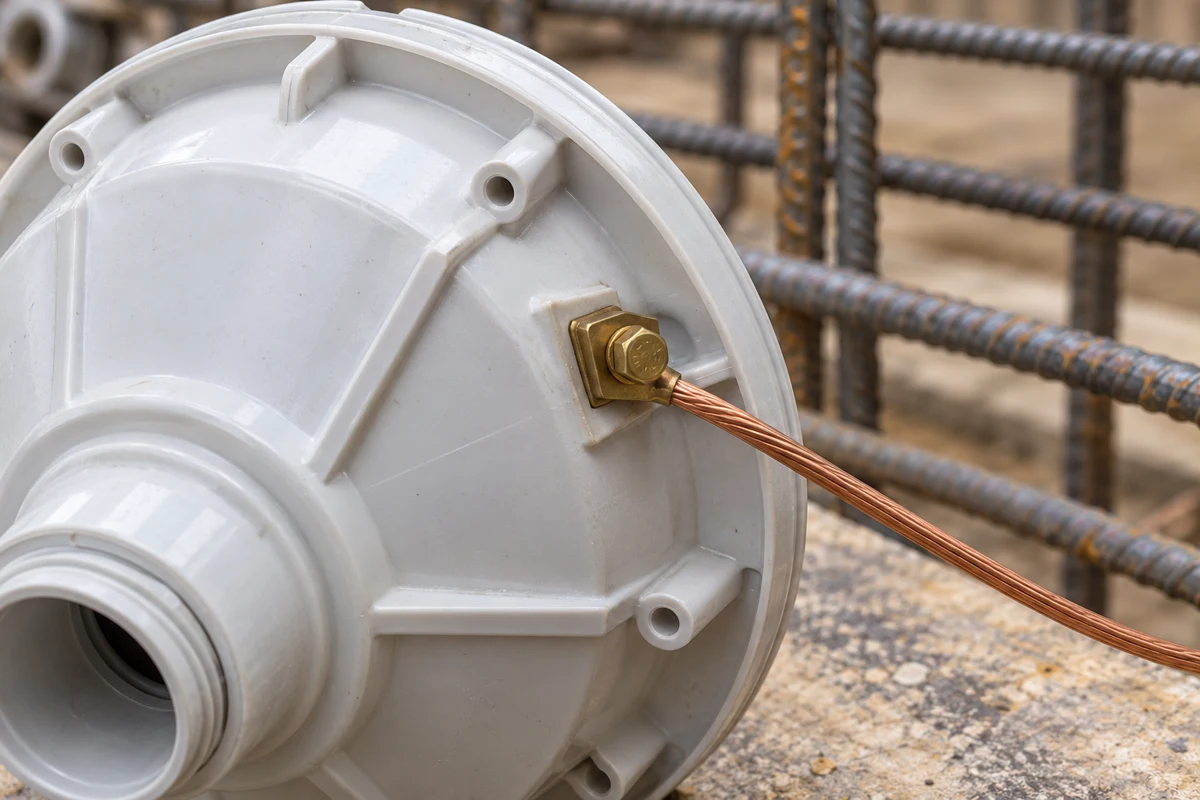
Locate the rear connection on the niche detail before closing the drawing review.
Identify the inside and outside connections
For Hayward DuraNiche housings, the outside connection is the bonding connector.
The inside connection is the grounding connector.
Mark each connection separately on the submission. Include a view of the rear of the niche as well as the face opening; label the intended conductor route and termination in each view.
Check the wet niche pool light conduit seal
For the Pentair Large Plastic Niche, separate the conduit attachment from the optional cord seal and the internal lug termination in your component schedule.
Connect the PVC conduit to the niche using an approved PVC cement.
The Cord Seal Grommet Assembly is an accessory sold separately.
The installed cord seal forms a water tight seal so that water cannot enter the conduit from inside of the niche.
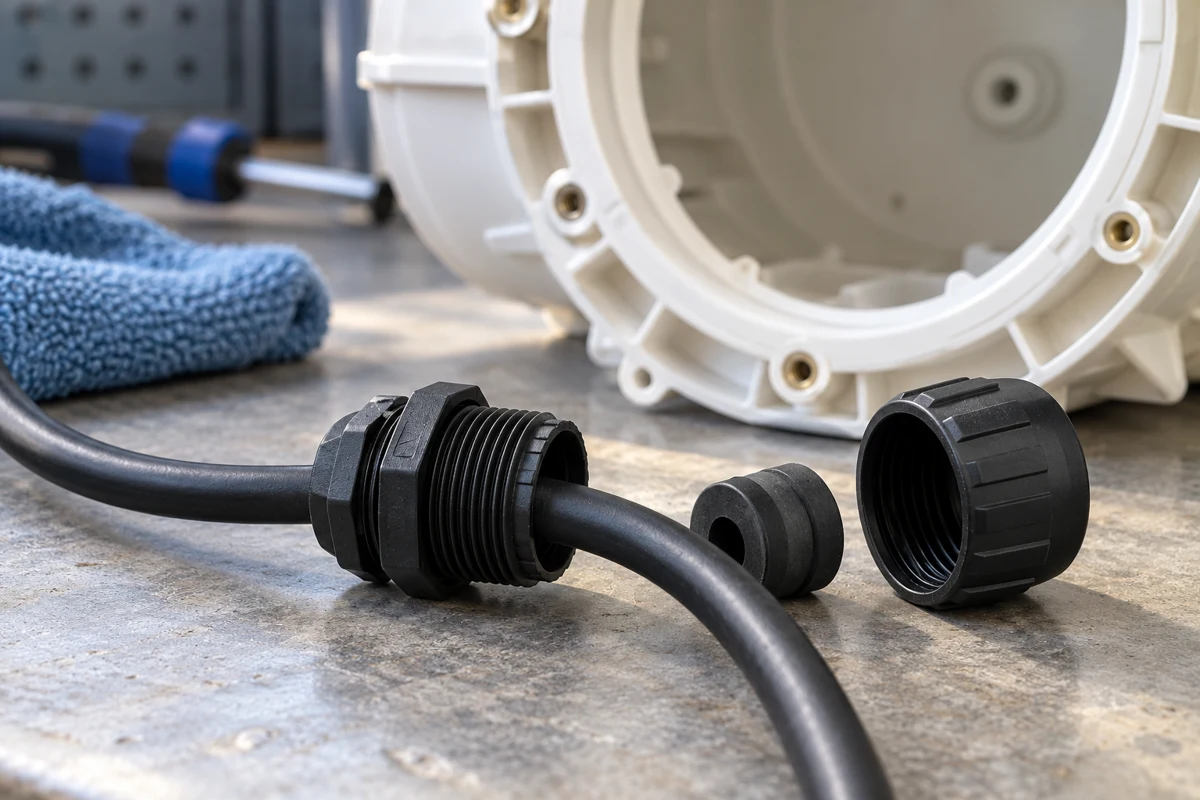
Review the cord seal components alongside the niche and cable schedule.
Fit and service the cord seal
Hand tighten the cap clockwise two or three turns.
Tighten the cap clockwise to lock the seal and wires in place.
Tug on the wires to ensure that they do not move.
Connect the bonding/ground wire to the lug inside the niche.
Tighten the screw to secure the wire to the lug.
Ensure that the wire has sufficient slack to allow removal of the cap and seal in the future.
After the existing seal is removed, a new seal should be installed.
Keep the seal accessory, conduit attachment and lug sealant as separate review items. Request the exact accessory reference alongside the proposed niche and light.
Set the swimming pool junction box height above water
For the Pentair Large Plastic Niche, the USA installation instructions specify the following elevation and separation:
The junction box or the low voltage transformer shall be located at least eight (8) inches above the maximum water line and at least four (4) inches above the ground level or pool deck whichever provides the greater elevation.
The junction box shall be no less than 48 inches from the inside wall of the pool, unless separated from the pool by a solid fence, wall or other permanent barrier.
Show the maximum water line, finished deck level and proposed box position together on a section drawing. Annotate both elevation checks and the inside pool wall reference; retain the selected manual’s installation scope with the detail.
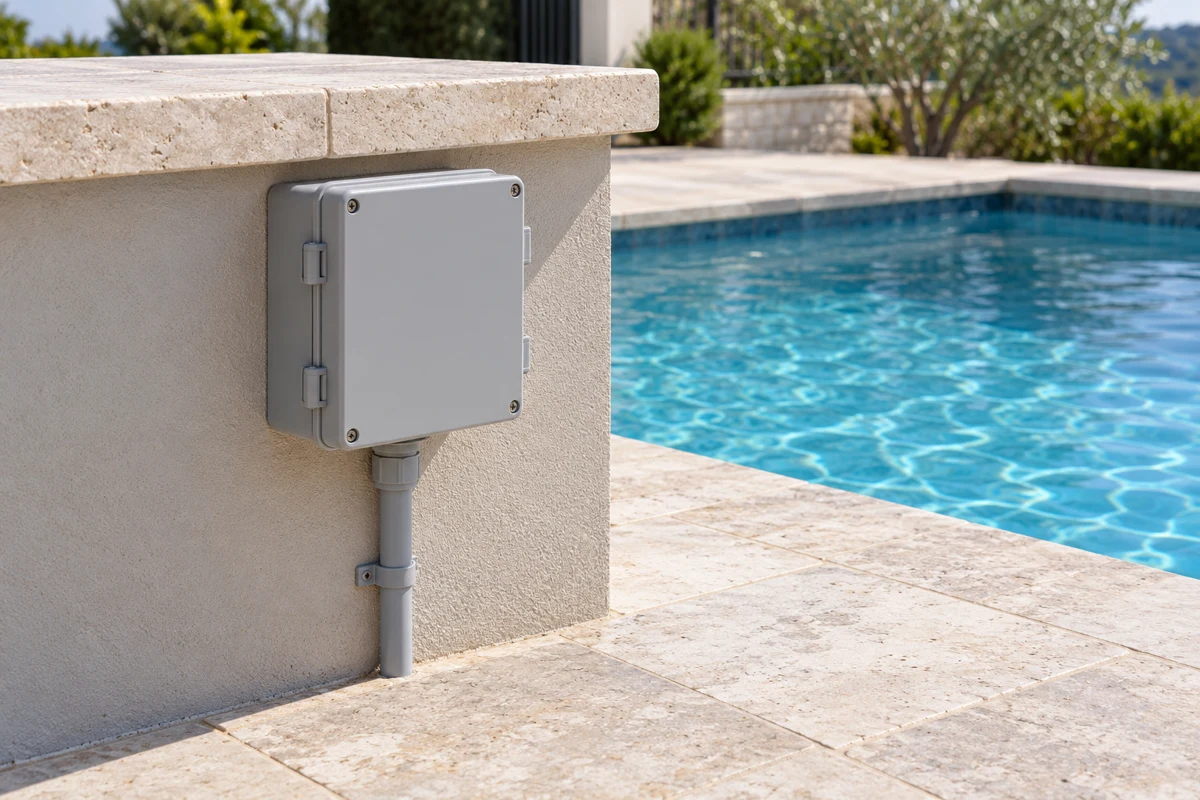
Review the box position against the water-line and finished-deck annotations.
Review transformer voltage drop at the correct connection
Use the Hayward voltage-drop guidance for the light-cord models covered by that document:
If the pool light is not connected directly to the transformer, calculate voltage drop for any wire runs before the light.
If using a junction box, use a voltage drop calculator to determine the voltage at the light cord’s connection in the box.
When calculating voltage drop, the current load is the combined current of all lights attached to the run.
Undersizing the wire at this connection can result in poor performance.
Record the transformer-to-box route, each connected light and the light-cord connection as separate fields on the circuit schedule. Name the calculation point explicitly.
Lamp-terminal check for the Intermatic PX Series
The voltage at lamp terminals after installation should be 12 ± 0.3 VAC.
Voltages above 12.3 VAC at the light may cause the internal safety fuse of the transformer to switch off and on.
Make sure that all unused taps (leads) are separately insulated.
Keep that lamp-terminal check labelled with the Intermatic application. For the wider equipment supply review, continue to pool equipment voltage and frequency.
Prepare the drawing and equipment handoff
Attach the following to your lighting enquiry:
- Selected light, niche and cord-seal accessory references.
- Installation type and the corresponding manual.
- Section drawing showing the water line, deck, niche and junction box.
- Inside and outside lug details, conductor route and specified termination sealant.
- Transformer secondary voltage, cable route lengths, conductor sizes and lights attached to each run.
- Voltage-drop calculation point and commissioning check location.
PoolProject helps identify missing dimensions, unclear equipment duties, electrical conflicts and scope gaps.
Send the marked-up lighting schedule through Drawing and BOM Review, and include it with your pool equipment package enquiry.
Request a lighting package quote with the drawing and equipment schedule attached.
Sources
- Pentair — Large Plastic Niche Installation Guide
- Hayward — DuraNiche installation instructions
- Hayward — Resolving Voltage Drop Issues
- Intermatic — PX Series Installation, Operation and Service Manual
- Pool Project Supply — Drawing BOM Review